I am very excited to share the story and photos about my first ever gingerbread house project. I call it a mission because it was a lot harder than the idea of it seemed at first and I had to overcome various obstacles to get to the end product! In total, it took me about 5 days of on and off work to complete the house.
Fun fact: The photos in this post are taken with my own camera for the
first time since I arrived in the States. As an early Christmas present, my mum purchased me a Olympus TG-310 Tough camera. Before this, in my previous entries, all the photos were taken on other people's cameras!
DAY 1: GETTING STARTED
 |
| 'Making & Baking Gingerbread Houses': My initial inspiration and the book that I got the template for the house from. |
The first thing we did was go into Sisters to buy any ingredients for the gingerbread that we didn't have already and also to get the most important thing: candy for the decorating :)
 |
| After shopping: Everything laid out and ready for me to start. |
 |
| CANDY! AKA lollies and chocolate. Tempting much? |
 |
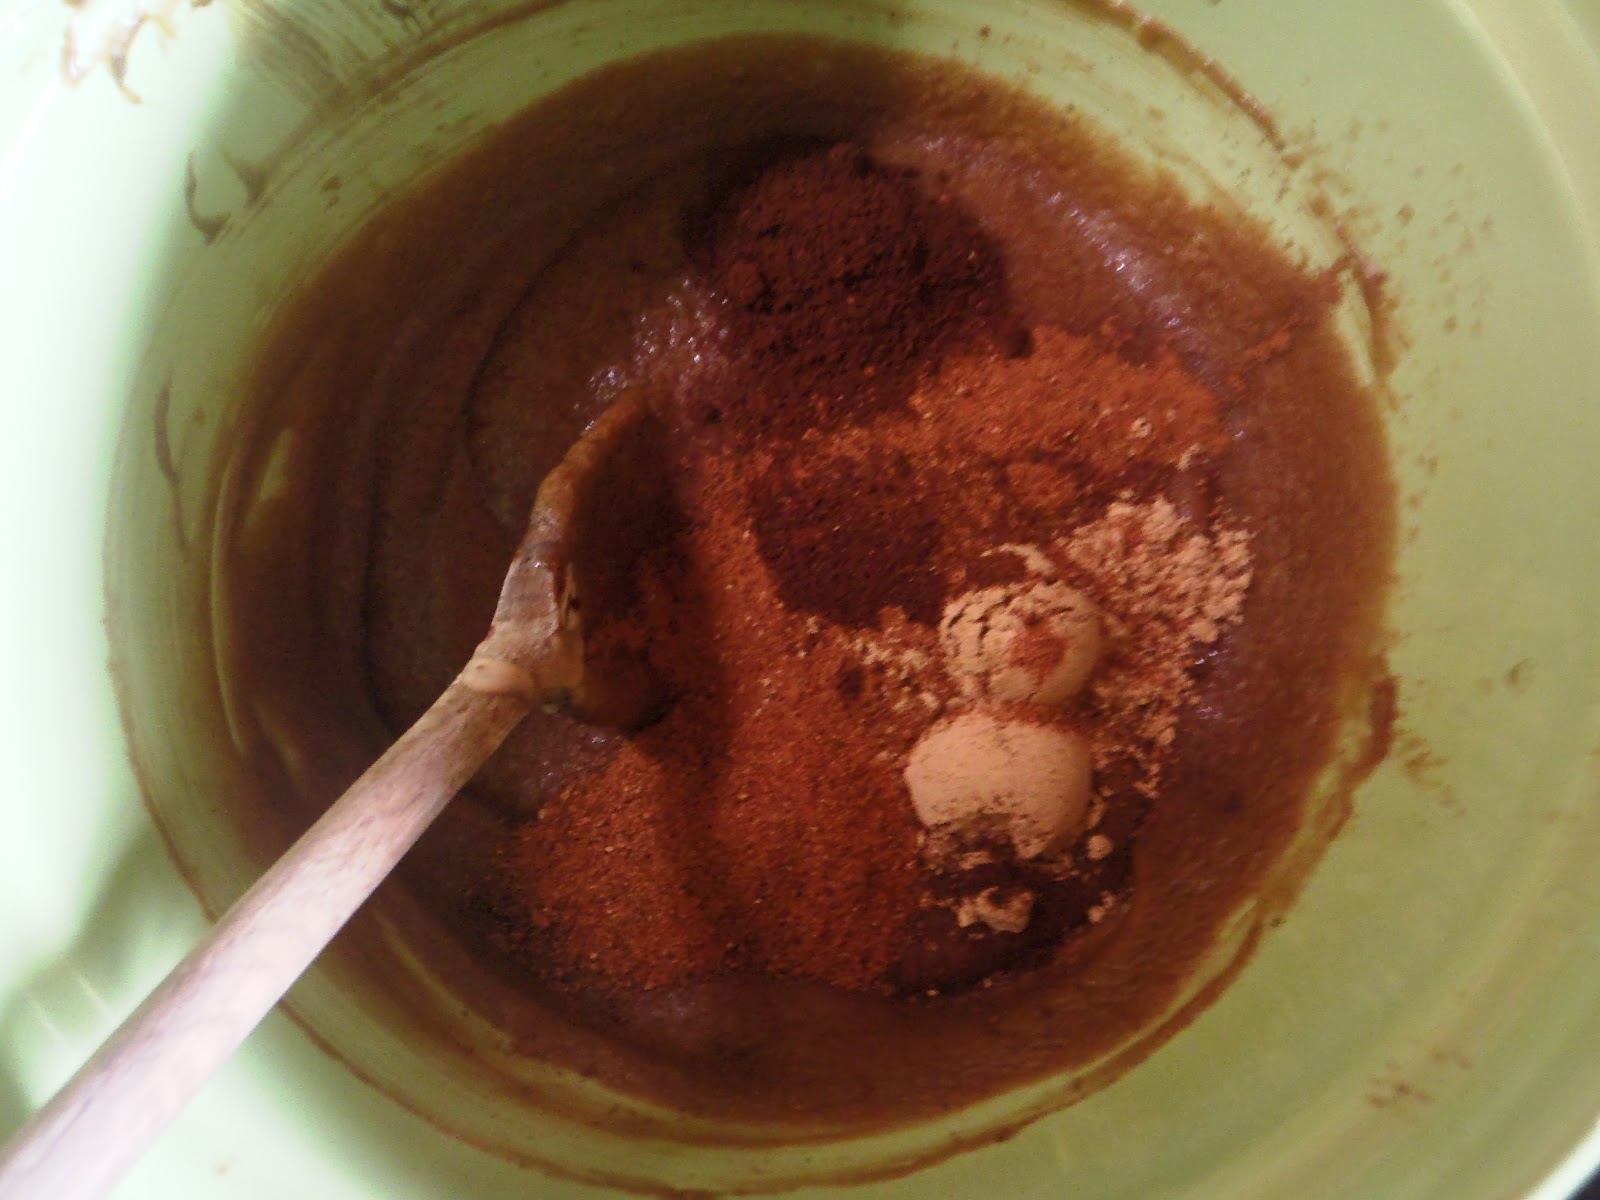
| Time to get mixing...So many ingredients! |
 |
| After the dough is made, it needs to be wrapped and chilled for a few hours. |
It was simple enough task to make the dough, and the project seemed pretty straight forward... but I was wrong!
Roadblock/ Challenge #1: After the dough had been chilled I took it out to roll and cut into wall shapes for the house. Unfortunately, I had used up all the dough and there was still one whole side of a wall left to be cut out! I used the measurements given in the book and I made the walls fairly thin, so running out of dough was totally unexpected. Nevertheless, I made a new batch of dough and put it in the fridge to chill until the morning.

Cutting out wall shapes. I chose the Colonial House template.
 |
| Already baked. |
 |
| Soon as the pieces come out of the oven they need to be trimmed to the correct size again. |
DAY TWO: THE WALLS COME TOGETHER
Roadblock/ Challenge #2: When I woke up the next morning, I expected that all I would have to do was roll out the new dough, cut and bake the last wall that was needed for the house before assembling it. So, Heidi and I were very unpleasantly suprised to find a few of the baked pieces were soaking wet! Somehow water had spilled onto a few of the walls and hence they needed to be replaced! I have a hunch it was one of the cats that may have knocked over a glass of water.
 |
| Smiley face cookie on the bottom left, wet disaster on the top left. lol |
|
Fortunately, the extra dough I made the day before was enough to replace all the gingerbread walls that had been damaged by the water.
Later in the day, with a lot of help from Heidi, I put together the walls of the house using thick icing.
 |
| String/ ribbon tied to strengthen the bond |
 |
| The gingerbread was fragile so we had to be gentle putting the walls together. |
 |
| Aunt Heidi was so much help with this part of the project! Thanks :) |
 |
| The roof is on! Now the string is left on for a night to make sure the house remains stable. |
 |
| The only thing left to be put on are the dormers. |
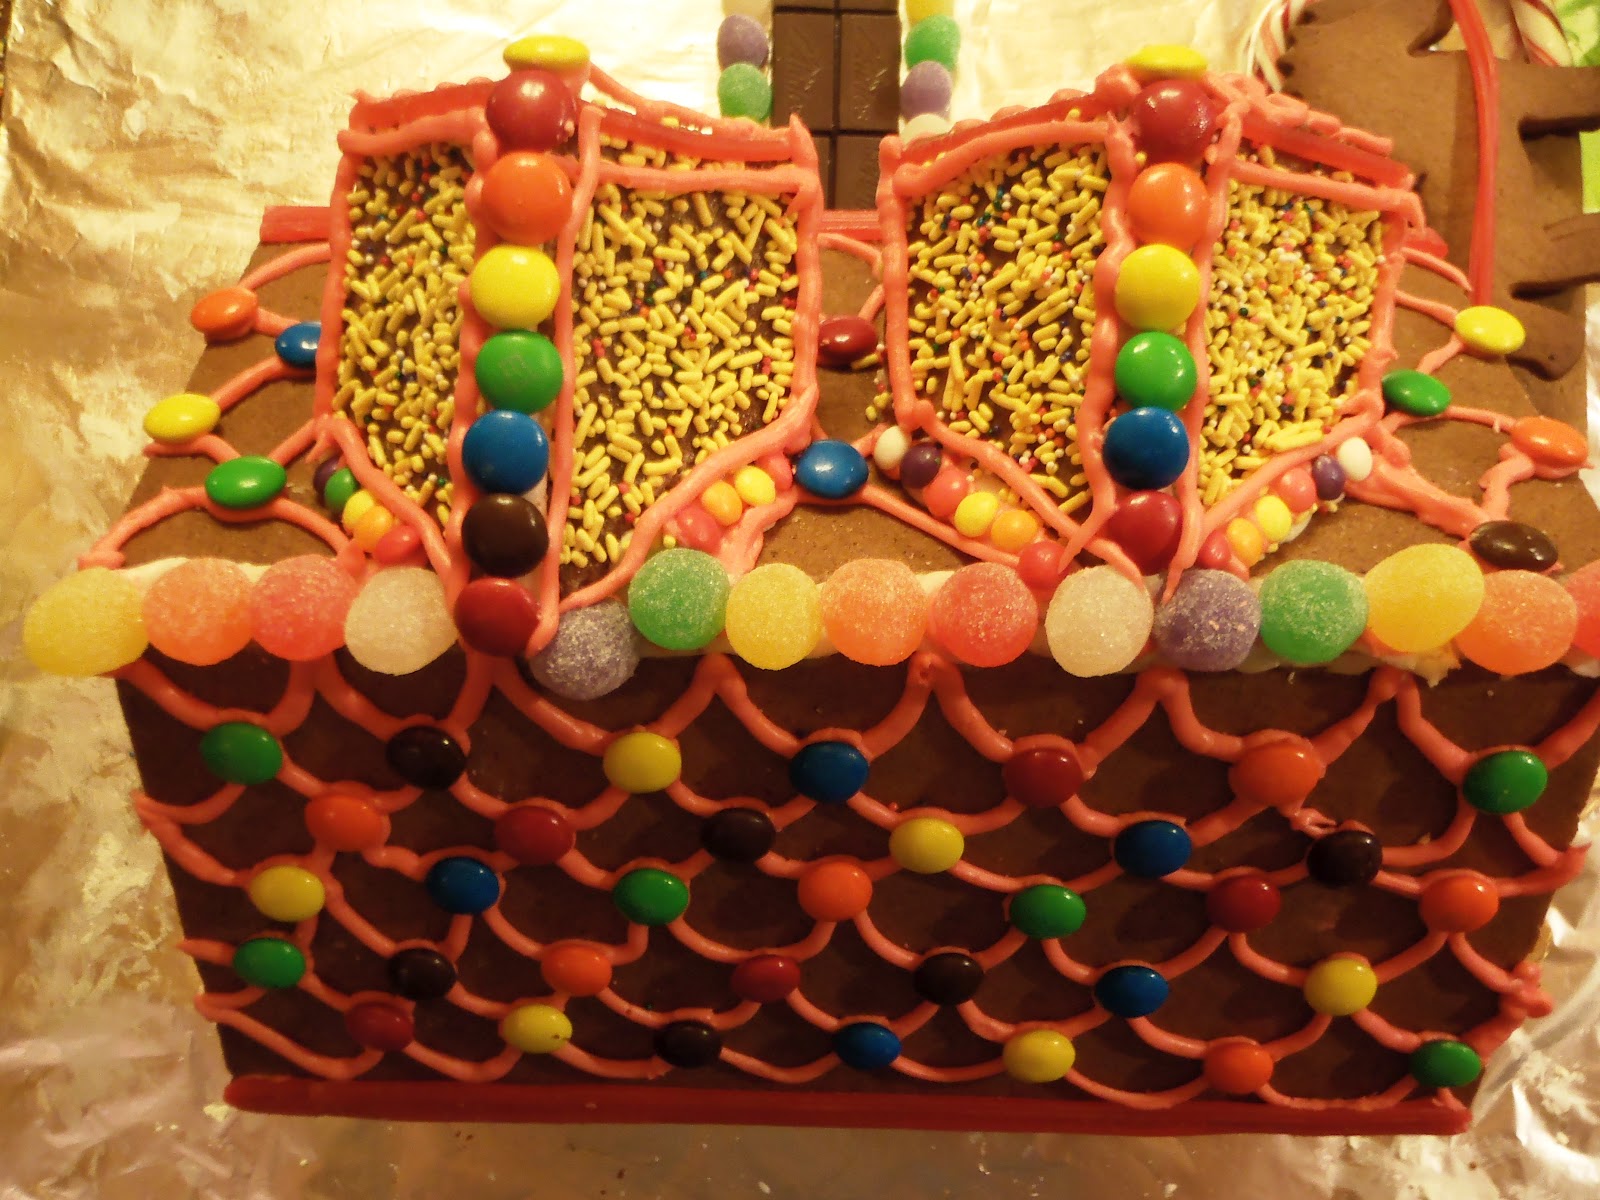
DAY THREE, FOUR AND FIVE: DECORATING!
Decorating is the fun part. I looked online at various photos of gingerbread houses to get some inspiration, but a lot of it was just making use of whatever materials/ candy and space I had.
Roadblock/ Challenge #3: The question arose as to whether or not it was safe to leave the candy covered gingerbread house on the dining table unattended overnight. I was concerned that the cats or dogs would pull it down or knock it over and all the hard work would be wasted! The thing was, it is not easy to cover up or hide a three foot long board with a delicate gingerbread house on it. In spite of my concerns, I left the gingerbread house on the dining table overnight. Luckily, nothing ever happened and neither the cats nor dogs were interested in damaging the house. I think humans pecking at the candy was actually the greater risk!
 |
| Decorating... 'Where to begin?' |
 |
| Sprinkles on the roof |
 |
| Weapon of choice: Icing Piper |
 |
| I LOVE m&m's! |
 |
| A pathway of chocolate and gum drops. |
 |
| The grand Hershey's doorway, with 'snow' dripping over the top. |
 |
| The fence and winter garden about ready to be stuck down with glaze and thick 'frosting'. |
 |
| Side view. |
|
Roadblock/ Challenge #4: I planned to make a candy cane sleigh, so I purchased only two candy canes, which was what I needed. When I took the first candy cane out of the plastic wrapper, it was broken! Pretty frustrating... What did I do? As you can see in the picture, I glued the pieces back together with icing! I don't think anybody other than myself noticed afterwards.
 |
| Candy cane surgery. |
|
|
AFTER quite a few hours of work, here are some photos of my first completed, 100% edible, gingerbread house...
 |
| View from back. |
 |
| Pretzel fence with Twizzler lining. |
 |
| Christmas tree at centre of garden. |
 |
| Butterscotch candy lines the perimeter of the house. |
 |
| Front view. |
 |
| Lots is going on in the front yard! |
 |
| The candy cane sleigh! |
 |
| Little gingerperson makes a marshmallow snow man! |
 |
| Top view. |
 |
| Gingercookie horses pull the candy cane sleigh. I love the little gingerbread person's expression hehe |
 |
| Making snow angels. |
 |
| Cookie horses hard at work ;) |
 |
| Nutcracker security for the finished gingerbread house! |
 |
| It's done! Ta-dah! |
My gingerbread house sat on a drawer at the entrance of the house all through December and was still there when I left Oregon on Jan 1.


I'll have you know that I could not bear to throw the house away. So I carefully removed the house from the board, and have it, and the horses and sleigh, stored in a covered container. So, we'll see how it fares, come December. May need to replace a gumdrop or two that Laura snitched :)
ReplyDeleteThat's hilarious! I hope it lasts!!
DeleteI was just talking to my lil sis on Skype and she said "I hope they don't waste all the chocolates, they should eat it!" hahaha!
Delete